
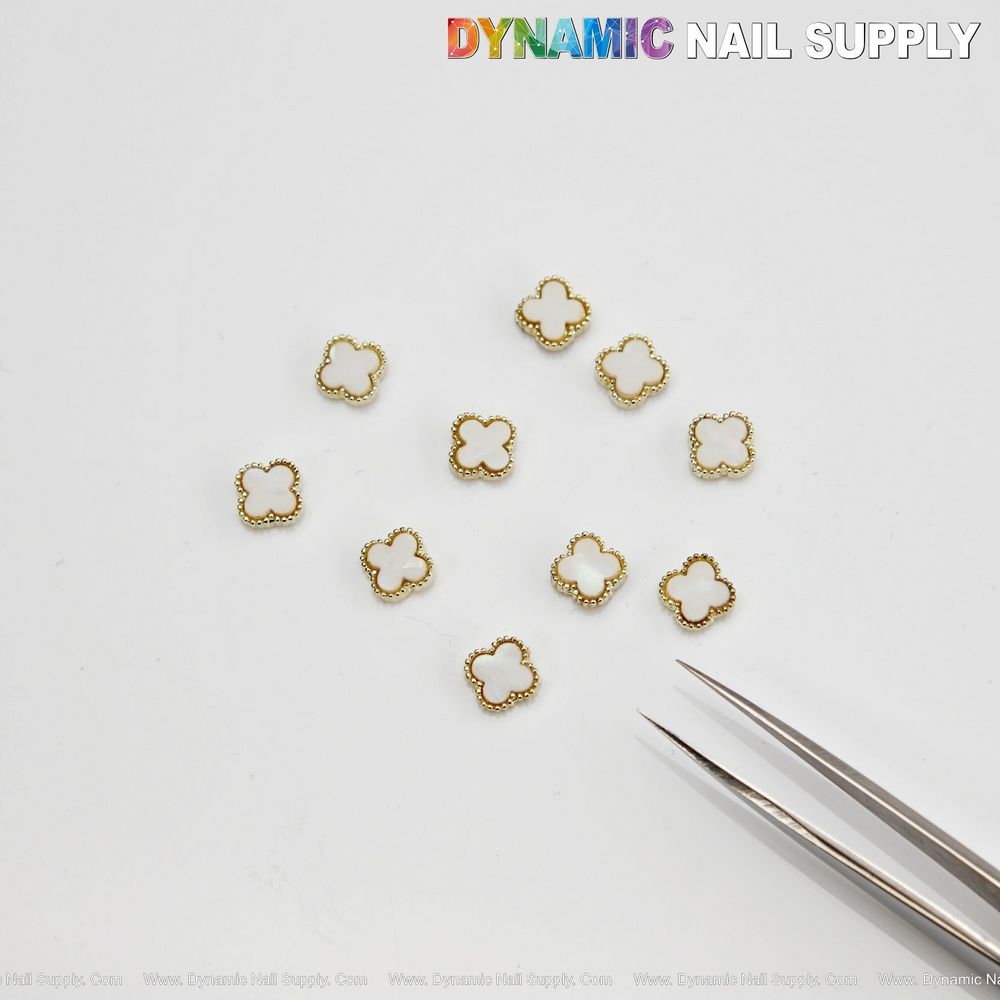
Small decorative details can turn a routine manicure into a memorable salon service. White small embossed four leaf clover nail charms bring a retro accent that’s compact, wearable, and easy to layer into busy appointment schedules. This article walks a nail technician through a practical service workflow so you can add these charms cleanly, reliably, and in ways that elevate the client experience.
What makes these charms salon-ready
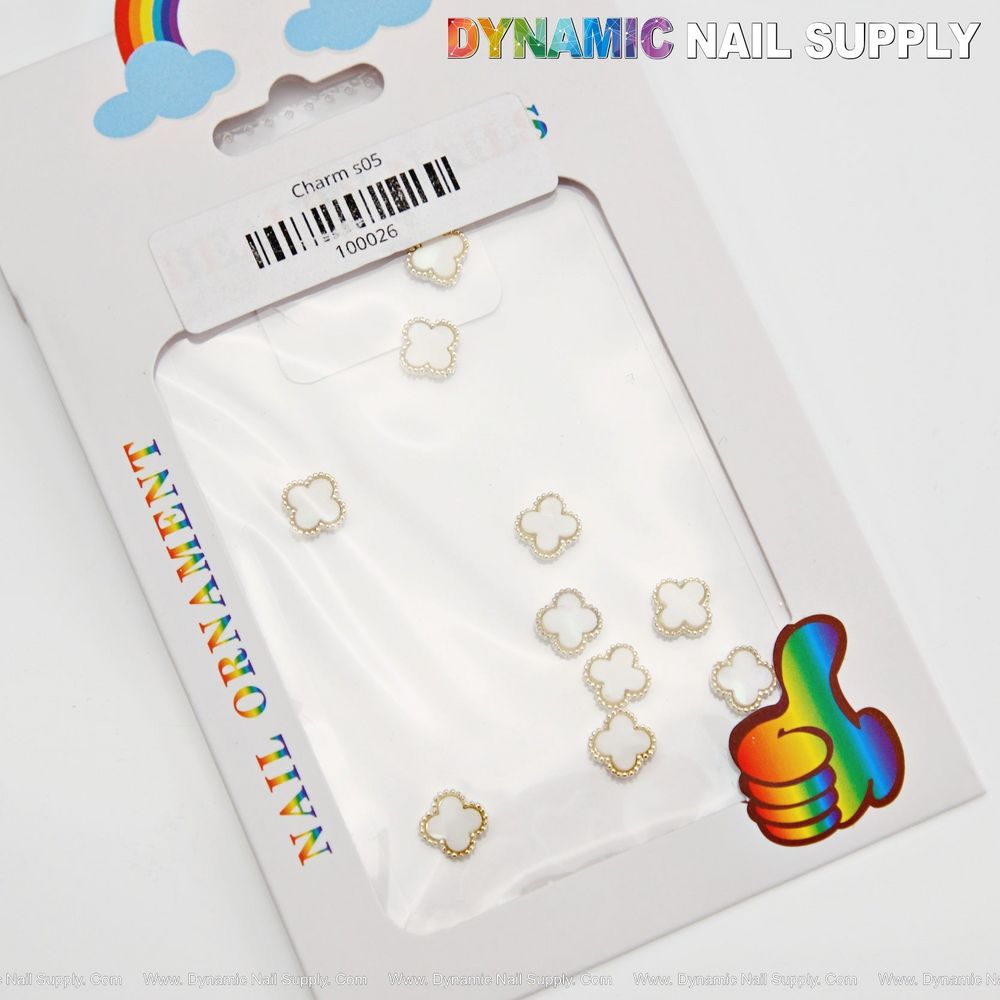
The charms are small, embossed, and designed as retro four leaf clover motifs in white—attributes that make them versatile for a range of nail looks. Their compact size helps with placement on natural nails, tips, chrome overlays, or encapsulated sets without overwhelming the design. Keep a packet of these clover nail charms on your cart to streamline selection during styling and finishing.
Pre-service prep: set expectations and layout
Before you begin filing or applying product, confirm placement with the client. Show them the charm and a mockup on a spare tip or swatch if possible. Because these are embossed and visibly textured, discuss whether they prefer the charm centered, offset near the cuticle, or layered over color accents.
- Inspect the charms for any manufacturing debris or sharp edges and remove dust.
- Plan which nails will receive charms—common choices are ring and thumb fingers or mixed-accent hands.
- Decide whether to embed (encapsulate) the charm in gel/acrylic or adhere it to the surface for ease of removal.
Application workflow: step-by-step
1. Surface preparation
Complete standard nail prep: cuticle work, light buffing to remove shine, and dehydration if using enhancements. A clean, mattified surface improves adhesion whether you are using builder systems or surface glue.
2. Base and color layer
Apply base and color layers according to the system you use (gel, acrylic, or polish). If you plan to encapsulate the charm, leave the topmost structural layer slightly underbuilt to create a pocket where the charm can sit without raising the final profile too much.
3. Placing the charm
For surface application, use a small dab of nail adhesive or a clear builder to tack the charm in place. For embedded looks, place the charm onto a wet layer of clear builder or acrylic before curing/setting, ensuring it lies flat and aligned. Because these charms are small and embossed, use precision tweezers or a wax picker for accurate placement.
4. Secure and finish
After placement, encapsulate if desired with a clear layer to protect the charm and smooth the nail profile. If left on the surface, seal the edges with a thin bead of top coat or builder to reduce catch and improve retention. Cure according to your system’s instructions and perform final buffing and shine as needed.
Design and placement ideas for salon menus
- Lucky accent: place a single charm on the ring finger over a neutral or French base.
- Clustered vignette: combine two charms with micro crystals on a feature nail for editorial looks.
- Retro minimalism: use the white embossed charm on matte dark colors to make the motif pop.
- Seasonal update: rotate charm placement for holiday or event packages as a quick upsell.
Tools, timing, and throughput tips
Integrating small charms into a busy schedule is about predictability. Pre-sort charms by type and keep them in labeled vials or strip-sealed bags so techs can grab what they need quickly. Place precision tweezers, a wax picker, and a small pot of adhesive or builder at each station.
- Batch prep charms during downtime to remove any plastic film or to pre-inspect for defects.
- Note the added time per charm in your appointment booking so expectations and turnover stay accurate.
- Train staff on quick placement techniques—consistent alignment reduces rework and touch-ups.
Who should offer these charms
These small four leaf clover nail charms are ideal for nail techs who run creative express services, add-on embellishments, or fashion-forward full-set clients. They suit salons that want an easy, low-cost upsell—available from Dynamic Nail Supply for $4.99—without committing to heavy hardware or large 3D elements.
Care and safety notes for salon use
Because the charms are embossed, edges may catch on fabric if not fully sealed. Always secure the perimeter with a top layer or builder to minimize snagging. Keep client aftercare instructions simple: avoid harsh detergents for 24–48 hours, and recommend gentle filing around the charm if edges loosen. Store unused charms in a cool, dry place and handle them with clean tools to maintain hygiene.
Final thoughts: make embellishments efficient
Small, embossed four leaf clover charms are a low-effort way to add personality and perceived value to a salon service. With clear communication, consistent placement practice, and simple storage and prep protocols, they integrate smoothly into a professional workflow. Whether used as a single lucky accent or part of a layered design, these charms let you deliver memorable, repeatable results without disrupting your schedule.