
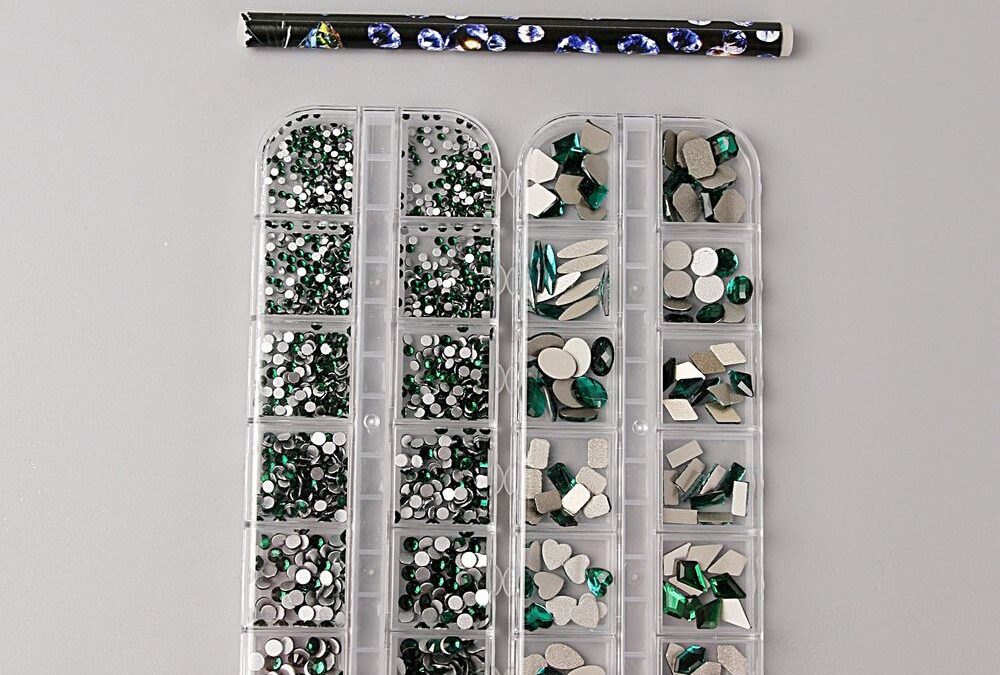
Quick answer: yes—you can often repair lifted flat-back gems on the same appointment using a fast-curing adhesive, tidy prep, and the right handling for both tiny round micro rhinestones and larger emerald-like multi-shape pieces from the green set.
Start with a calm workspace to prevent further lifting
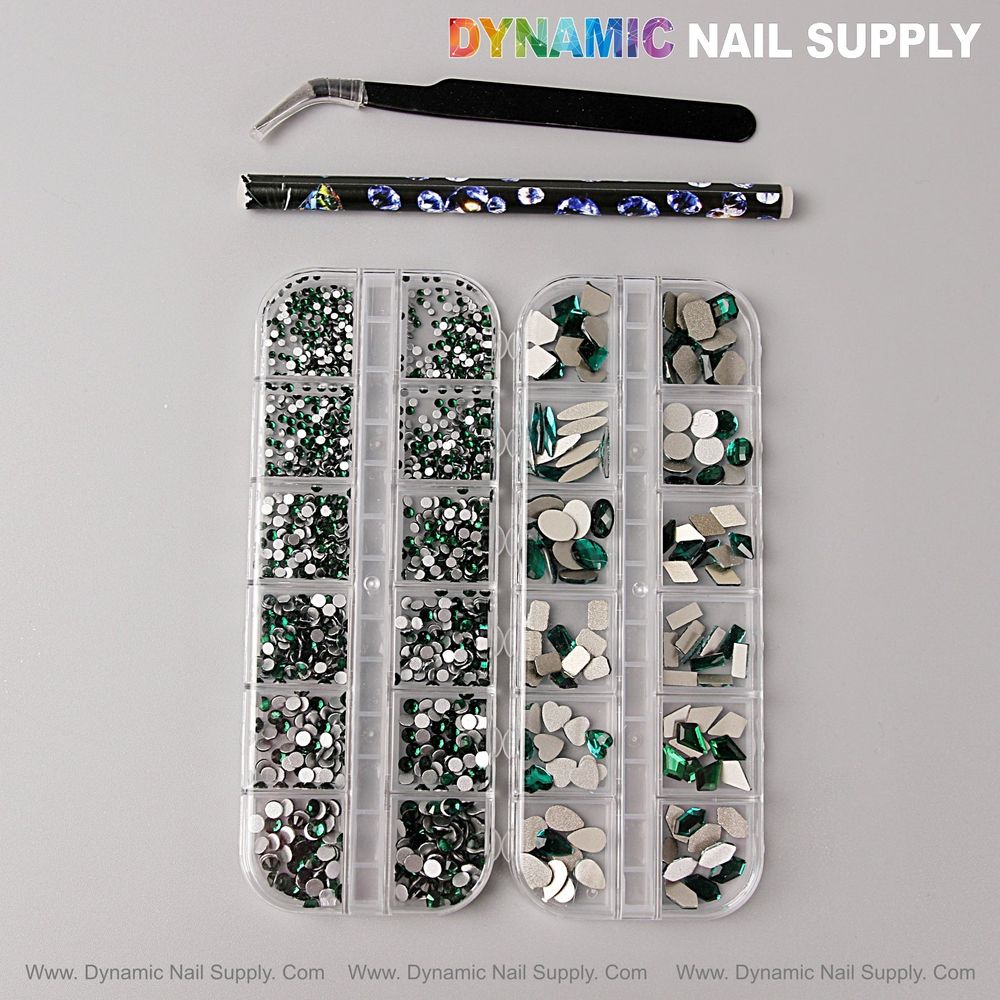
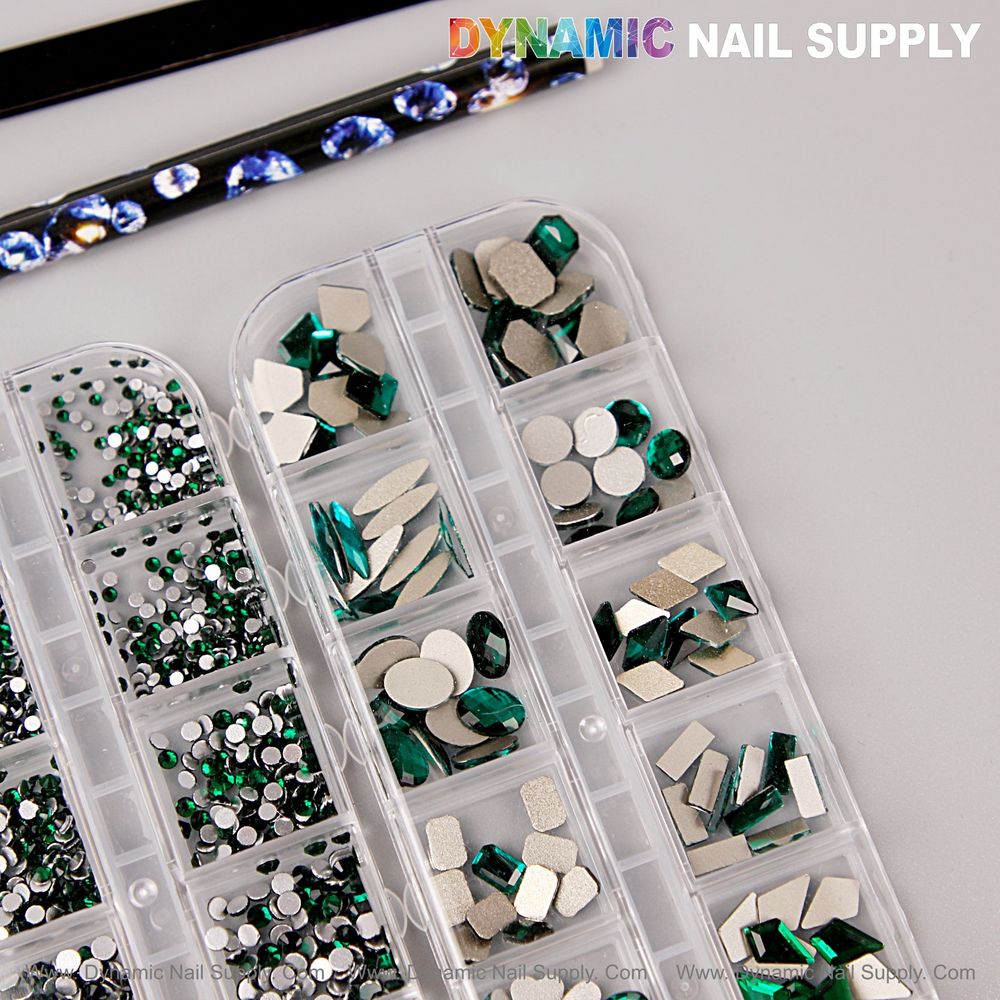
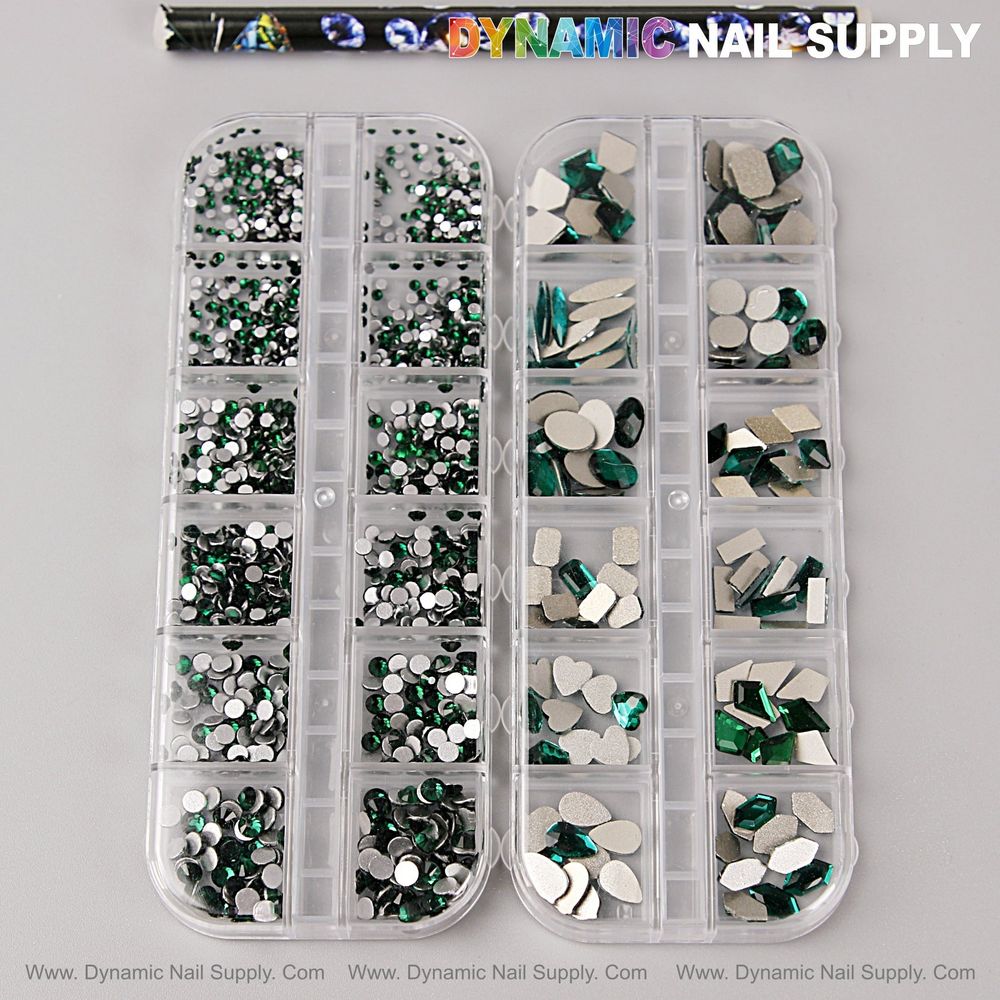
When a client feels a gem begin to lift, you need to slow down and control the environment. Clear a small, well-lit area, lay an absorbent towel, and have tweezers, a picker pen, a fast-curing gel or nail glue, cotton swabs, and a small file or orangewood stick ready. Because this green multi-shape rhinestone set includes both micro rounds and larger faceted emerald shapes, separate the sizes in the segmented storage tray so you can replace pieces quickly without fumbling.
Prep the lifted gem and the nail for the strongest reattach
Lifted gems usually fail because of debris, natural oils, or an uncured edge. Gently test whether the gem is still secure: if it clicks back flat with light pressure it may only need a touch-up; if it pivots or comes off, remove it and clean the area.
- For partially lifted pieces: use a wooden stick or the rounded end of a cuticle pusher to ease under the gem and clean away dust and old gel or glue.
- For fully detached stones: pick the gem up with precision tweezers or the included rhinestone picker pen and wipe the silver flat back with a lint-free wipe dampened with alcohol.
- Lightly roughen a large flat-back with a 240–320 grit file if the original adhesive layer is stubborn; skip this on micro rounds unless you must.
Fast adhesives and the right application for mixed sizes
Choose your adhesive based on speed and placement control. For same-day salon repairs you’ll commonly use either a thin brush-on gel designed for gems (cure with LED for a few seconds) or a nail-grade cyanoacrylate-style glue. Micro rounds need tiny dots—too much glue creates visible overflow and lifts sooner; larger emerald-shaped pieces require a slightly larger bead near the center of the flat back, but still avoid excess that squeezes out to the facets.
Work with the gem sitting on the picker or tweezers, apply the adhesive to the nail bed (or to the gem for very small pieces), place the gem, and hold steady until cured. If you are using an LED-curing gem gel, cure for the manufacturer’s recommended brief intervals—this reduces repositioning time and helps lock multi-shape clusters in place.
For reference to the specific green kit used in these examples, view the set here: https://dynamicnailsupply.com/products/multi-shape-size-nail-crystal-gem-rhinestone-set-flat-back-with-kit-mixed-round-and-different-shapes
Secure placement techniques to keep clusters intact
Clusters—like cuticle or French-tip accents made with the deep emerald stones—need staggered anchoring. Place the largest gem first, secure it, then add surrounding micro rounds with small beads of adhesive. For a cuticle cluster, build from the center outward so each stone shares some adhesive margin with its neighbor. If a neighbor lifts later, you’ll often be repairing just one small piece instead of the whole cluster.
Common beginner mistakes and how to avoid them
- Too much glue: beads of adhesive should be proportionate to the stone’s flat-back diameter—less is better for long-term hold and cleaner finish.
- Rushing placement: give adhesive time to tack or briefly cure before releasing pressure; pushing before tack sets can trap air and reduce bond strength.
- Handling facets: hold gems by the silver flat back or use silicone-tipped tools to avoid fingerprints on the faceted top that hide sparkle.
- Not matching adhesives to nail systems: builder gel encapsulation works for extensions and heavy-wear clients; thin glue is best for quick, same-day spot fixes on natural or gel polish.
Best for
- Same-day spot repairs on salon clients with mixed-size flat-back gems.
- Accents using deep emerald multi-shape stones on neutral or dark bases.
- Mobile techs who need a compact tray with tweezers and a picker for quick fixes.
Not ideal for
- Permanent, high-impact sports nails where long-term industrial bonding is required.
- Clients who prefer completely flush, encapsulated gem finishes without surface texture—those need full gel overlay techniques.
- Situations where adhesive fumes are prohibited without proper ventilation.
Final safety and finishing notes
Rhinestones and small parts are a choking hazard—keep them away from children. Use adhesives in a ventilated area and avoid skin contact; if using an LED-curing gel, follow curing times. After repairs, seal edges with a tiny bead of builder gel or topcoat around—but not over—the gem to reduce snagging while preserving sparkle.
Practice the sequence—clean, small glue, place, hold, cure—and you’ll turn common lifts into quick wins for your client schedule.
Next step: gather a compact repair kit with a fast-cure gem gel, thin adhesive, tweezers, and a picker so you’re ready at your next appointment.