
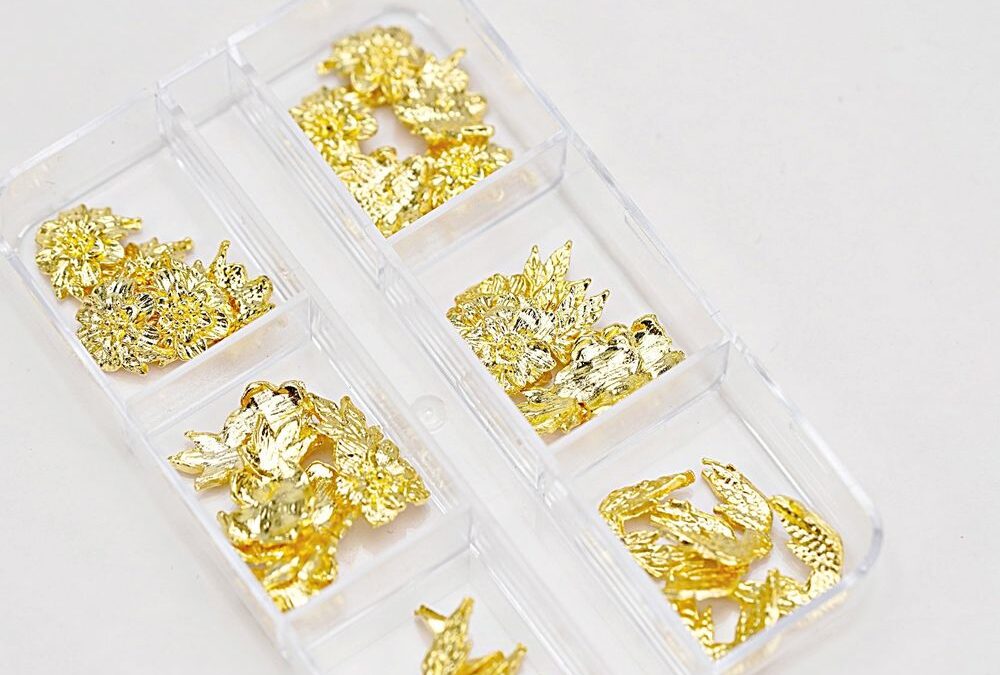
Quick answer: These bright metallic flower and wing charms are an easy, low-tech way to add a luxe focal point to a manicure—great for beginners who want high-impact accents without advanced sculpting.
Start simple: learning the basics is straightforward
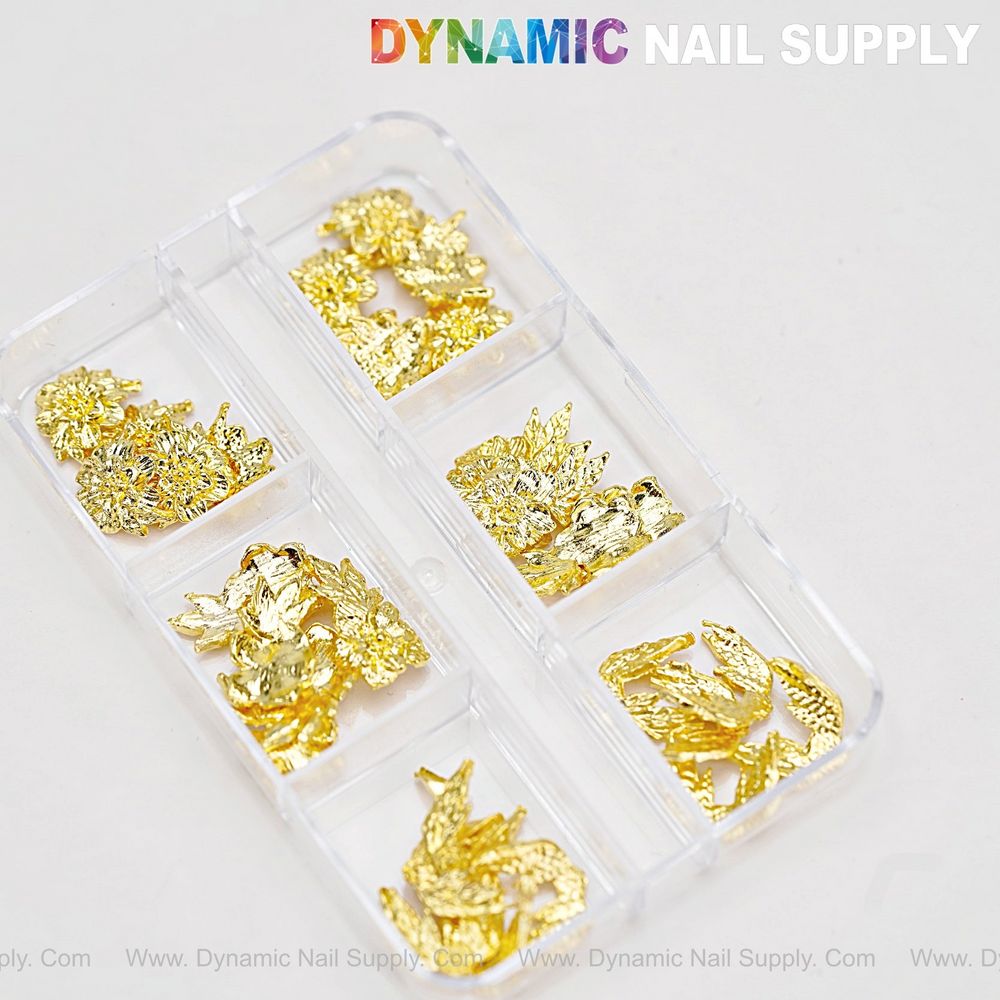
You don’t need years of experience to use these tiny metal-look pieces. Pick a single accent nail to begin: a nude, cream, soft pink, or black base makes the reflective gold pop. The charms pictured are small, raised, and highly reflective, so one well-placed piece reads like a salon-level detail.
How to handle and apply like a pro
Work on a clean, flat surface and keep a small dish or the clear compartment tray close by to organize the pieces. A wax pencil or angled tweezer gives the most control when lifting and positioning each charm. Press the charm into tacky gel or a drop of builder gel, then cure if you’re using gel to lock it in place.
Placement tips that hide beginner mistakes
Beginners often place charms too far from the cuticle or stacked awkwardly. Use the nail’s natural smile line and visual center as guides: a single floral piece centered on the free edge or off-center near the cuticle reads intentional and polished. The embossed details on these charms are forgiving; the high-gloss surface hides tiny alignment slips if the charm sits flat.
How to secure reflective gold pieces without bulk
Because these charms have raised, textured backs, seal them with a thin bead of builder gel around the base, not over the top, to maintain shine. If you prefer full coverage protection, encapsulate with clear gel or acrylic, keeping the top coat thin to preserve the mirror-like highlights that make the texture read like jewelry. Remember that the metallic finish is part of the visual appeal—don’t drown the charm in layers.
Try placing gold flowers and wings charms on a single accent nail to practice placement and sealing technique.
Designs these charms make easy
These uniform bright gold pieces work well for classic looks and bold statements. Try a single floral accent on an ivory or soft pink for a bridal feel, or pair multiple small charms on a black lacquer tip for a baroque-inspired contrast. The wing shapes are great as directional details pointing toward the free edge or framing a larger bead.
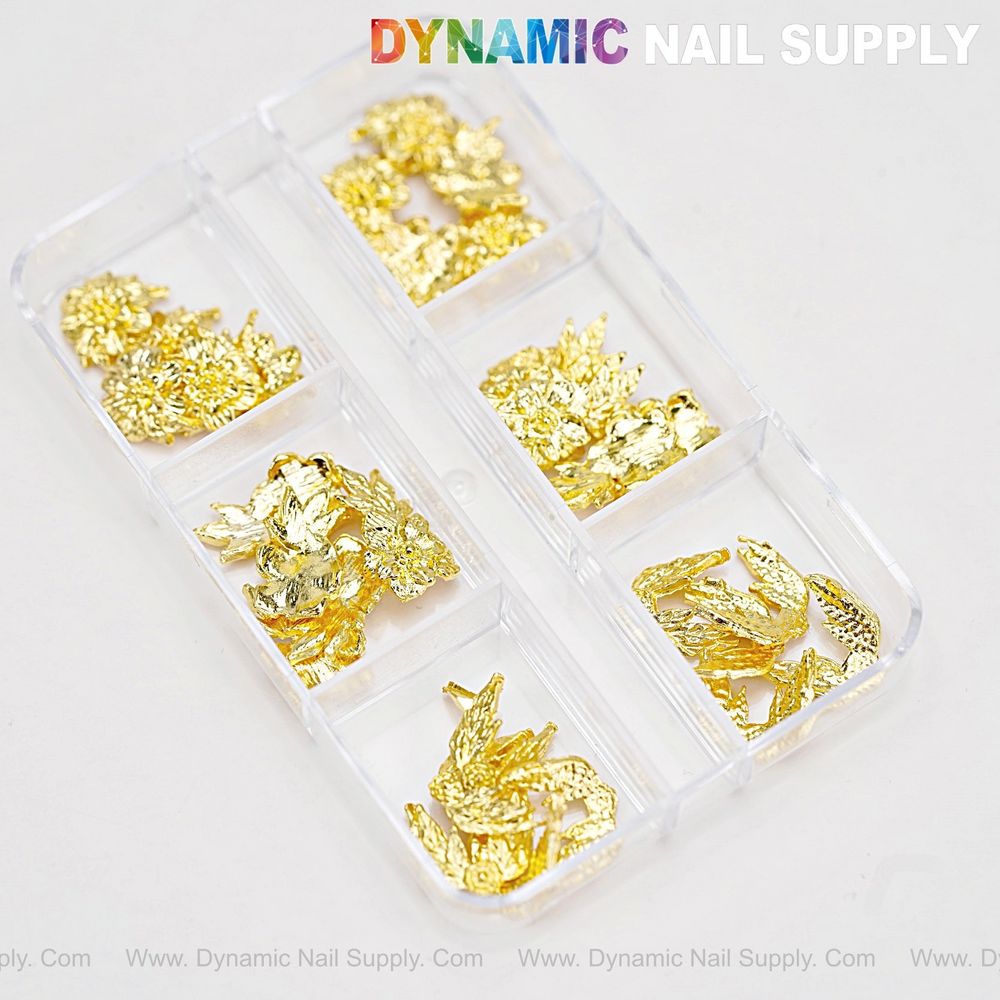
For step-by-step practice, lay out several pieces in the clear compartment tray so you can repeat the same placement until you gain speed and confidence.
Common beginner mistakes and how these charms help
- Placing too many pieces at once — start with one per nail and add gradually.
- Using too much adhesive — use a controlled bead at the base to avoid overflow and lifting.
- Not thinking about scale — these small charms suit accent nails, not full-coverage applications unless you plan to cluster deliberately.
Care, longevity, and safety notes
Handle the charms gently; the embossed surfaces are decorative but can bend if forced. Avoid filing directly over the metallic top; instead, use gel or acrylic to level and seal around the edges. If you’re using strong adhesives, work in a ventilated space and follow product instructions. Keep small pieces away from children and pets.
Best for
- Quick luxe accents on neutral or dark bases
- Clients who want jewelry-like shine without gems
- Bridal and formal accent nails with a single focal element
Not ideal for
- Full-coverage nail top decoration when you want a smooth, flat surface
- Designs that require mixed-color charms or rhinestones (these are uniform gold)
- Those looking for flexible, soft embellishments—these are firm and metallic in look
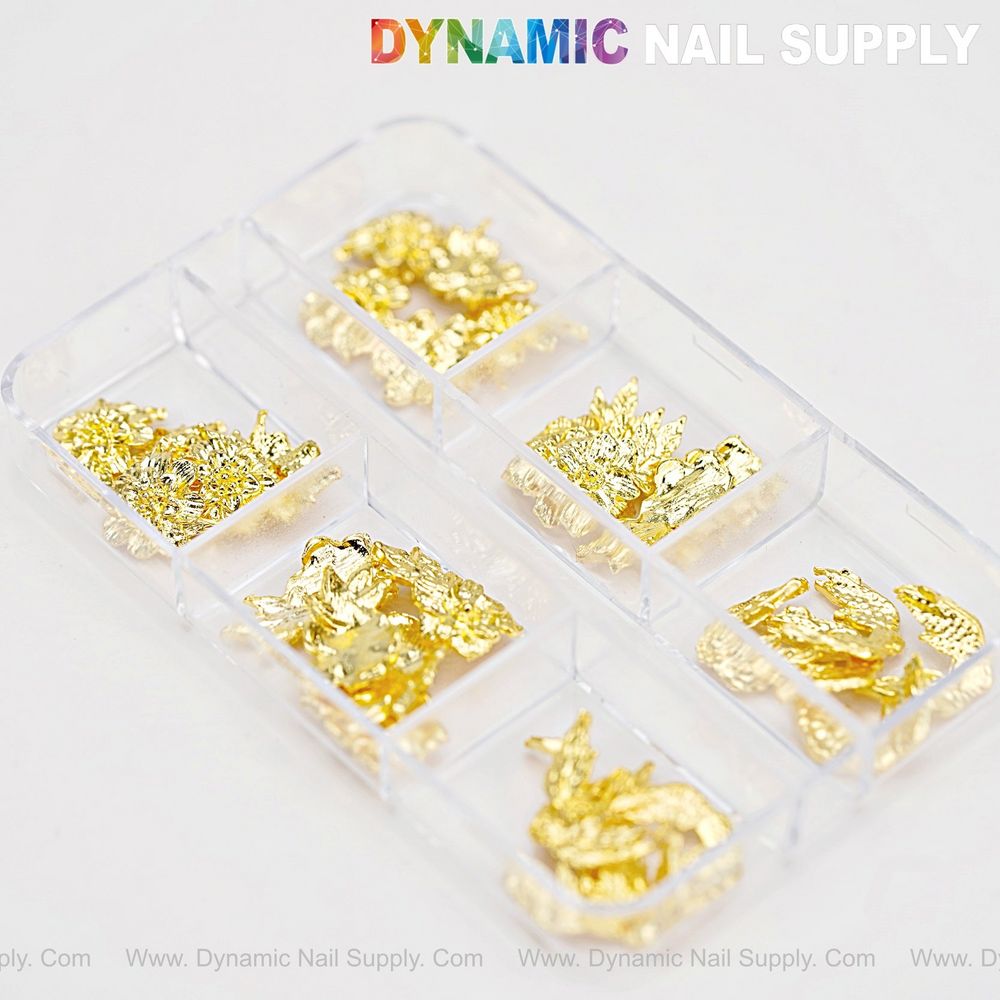
Price is modest—listed at $4.99 when available—and they come organized in a clear multi-compartment tray that keeps pieces sorted as you learn. Small, reflective details reward careful placement, and repeating simple applications builds speed.
If you’re ready to practice, gather a tacky gel, a wax pencil or tweezer, and a few practice nails to do three repeats of the same placement: you’ll see quick improvement in both speed and visual balance.
Next step: pick a neutral base, place a single charm on the ring finger, and practice sealing it with a thin bead of builder gel until your placement feels deliberate and secure.